Let's integrate our UIKIT in few minutes
SDK UIKit for VueJs#
Mirrorfly UIKit Sdk is a set of prebuilt UI components that allows you to easily integrate an in-app chat with all the essential messaging features.
Things to be Noted Before Making a Start#
SDK License Key#
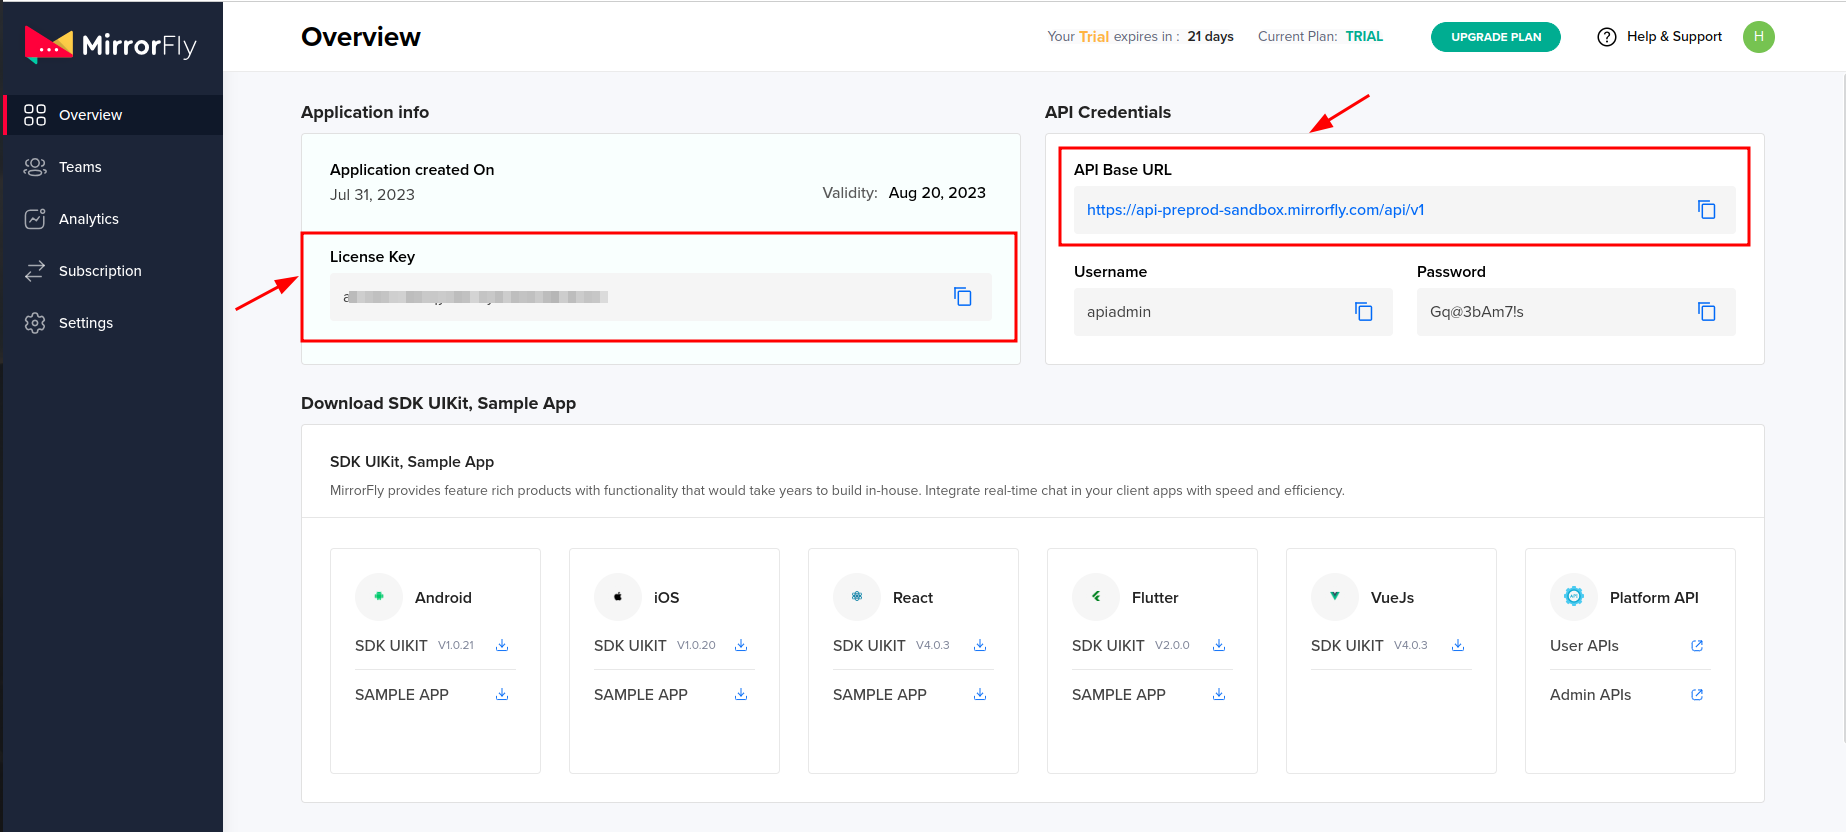
Before integrating CONTUS MirrorFly Chat SDK, you need to have a SDK license key for your MirrorFly application. This SDK needs to be authenticated by the MirrorFly server using the license key for further processing.
To get the License Key,#
Step 1: Register here to get a MirrorFly User account. Registration is subject to verification and would take up to 24 hours.
Step 2: Login to your Account
Step 3: Get the License key from the application Info’ section
Integrate the Chat SDK for Vuejs Version 2#
Note :For Vue version2 follow the steps below Install mirrorfly-uikit (https://www.npmjs.com/package/mirrorfly-uikit) npm package by terminal command 'npm i mirrorfly-uikit'. Now the node_modules will have a mirrorfly-uikit folder and package.json is added with the mirrorfly-uikit dependency.
Step 1: Create a new VueJs project or Open an existing project.
Step 2: Open terminal and install below package added as mentioned below.
Step 3:In main.js file Install vuera with npm command 'npm i vuera' and add below codes.
Step 4: Create a file inside project with .jsx and implement the initialization function.
The apiUrl and licenseKey details can get it from the 'Overview' section in the mirrorfly Console dashboard.
| Argument | Type | Description |
|---|---|---|
| licenseKey | String | set your licence key |
| userIdentifier | String | set your phoneNumber |
| apiUrl | String | set your base url |
Step 5:In App.vue file import the .jsx file
Step 6:In babel.config.js file add below codes to run .jsx file in vue.
Integrate the Chat SDK for Vuejs Version 3#
Note : For Vue version 3 follow the steps below
Install mirrorfly-uikit npm package by terminal commandnpm i mirrorfly-uikit. Now thenode_moduleswill have amirrorfly-uikitfolder andpackage.jsonis added with themirrorfly-uikitdependency.
Step 1: Create a new VueJs project or Open an existing project.
Step 2: Open terminal and install below package added as mentioned below.
Step 3: Create a file inside project with .jsx and implement the initialization function.
The apiUrl and licenseKey details can get it from the 'Overview' section in the mirrorfly Console dashboard.
| Argument | Type | Description |
|---|---|---|
| licenseKey | String | set your licence key |
| userIdentifier | String | set your phoneNumber |
| apiUrl | String | set your base url |
Step 4:In App.vue file import the .jsx file
Step 5:In babel.config.js file add below codes to run .jsx file in vue.
Custom Chat Conversation#
If you need chat conversation page alone initialize customconversation in ChatApp component.
Web SDK Methods#
We can also import Web SDK methods from "mirrorfly-uikit/dist" below code snippet is example to import SDK methods.
Note : By using Web SDK methods you can use prime functionality of mirrorfly outside of Uikit.
Initializing the chat Conversation#
Note : Recent Search chat feature is not available for easy plan then it will not display in Recent Chat Screen in Mirrorfly-Uikit.
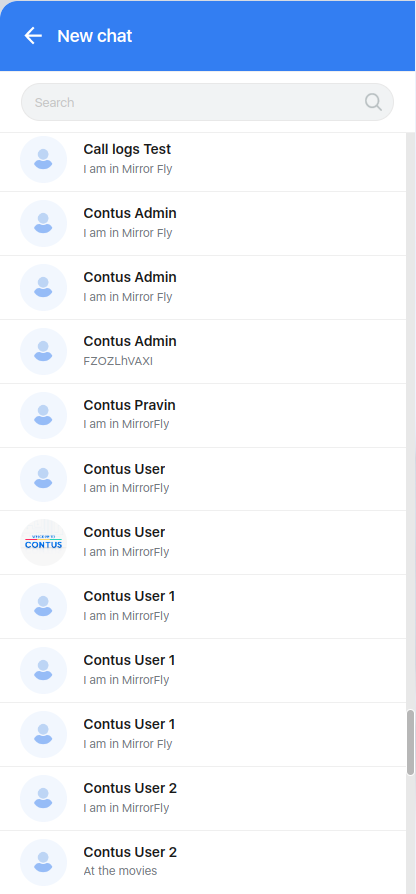
You can now run the application with single React Component. To send a message, you must first start a conversation by clicking on the add new chat icon Then, you can select the user you wish to chat from your contact list.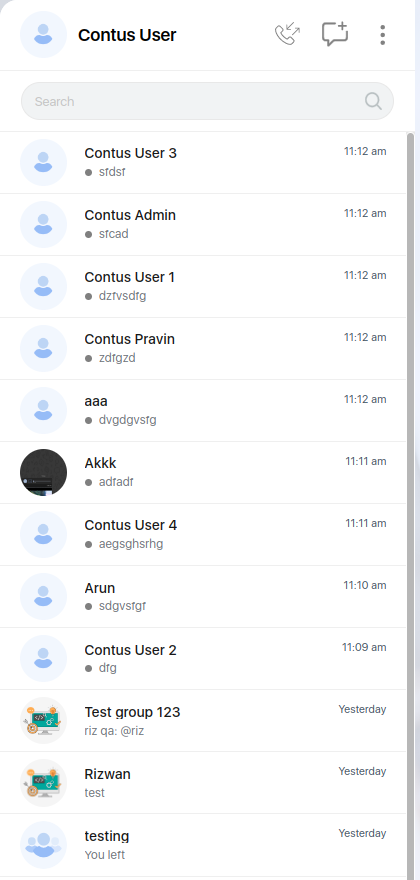
Sending Single Chat Message#
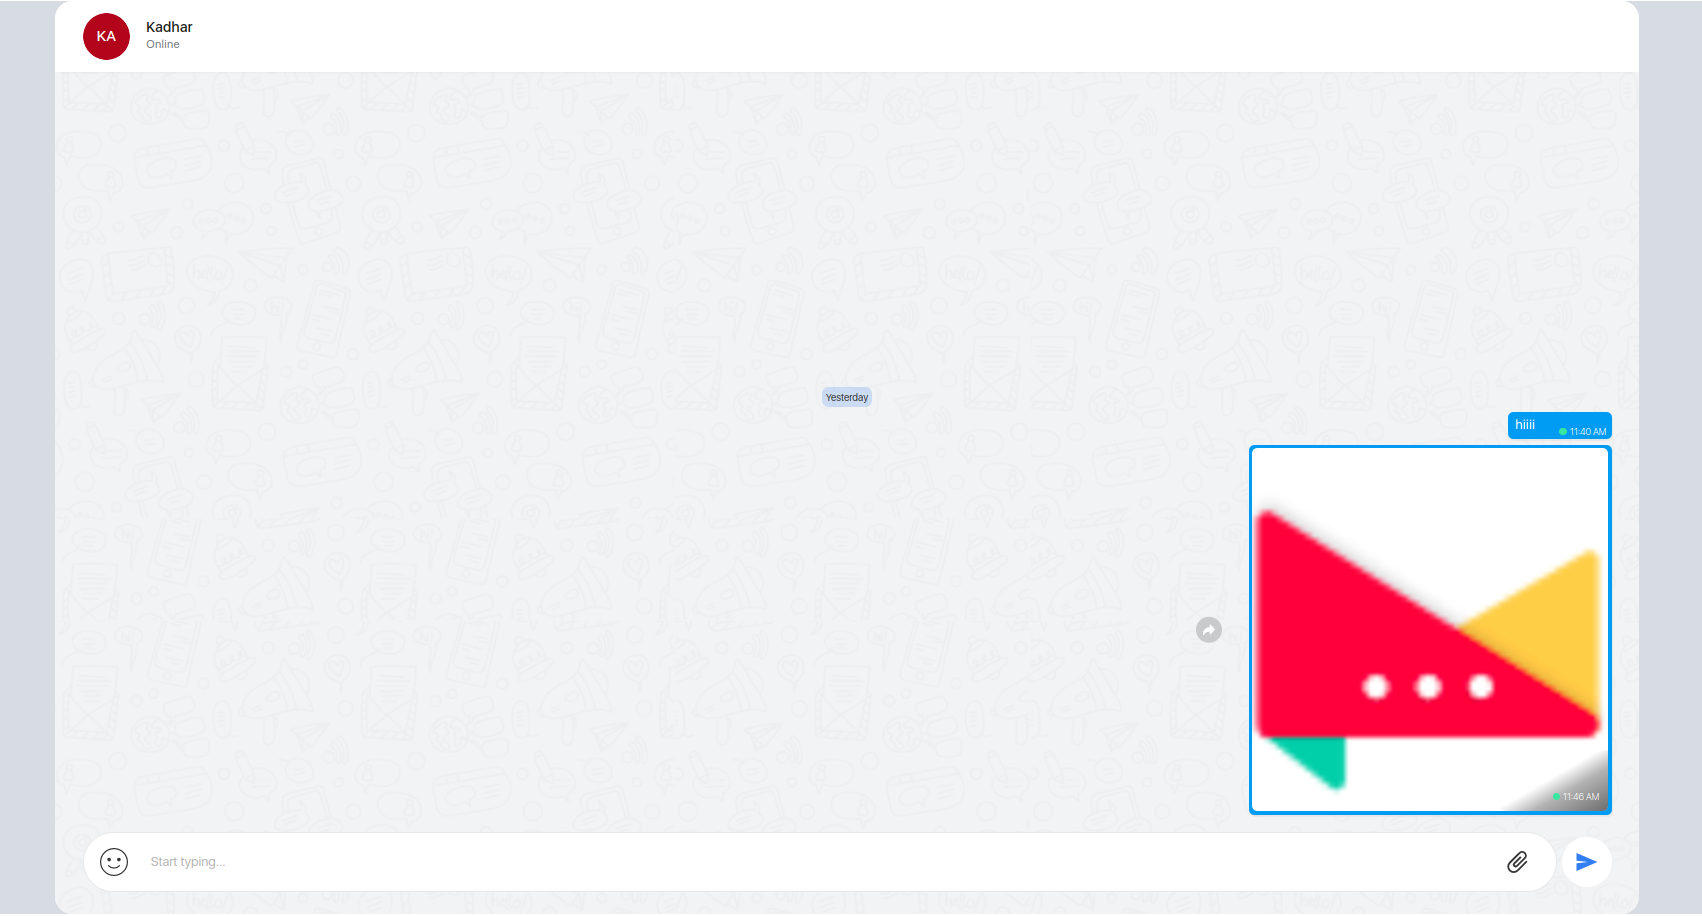
Once navigated to user chat screen, type your first message and click send button .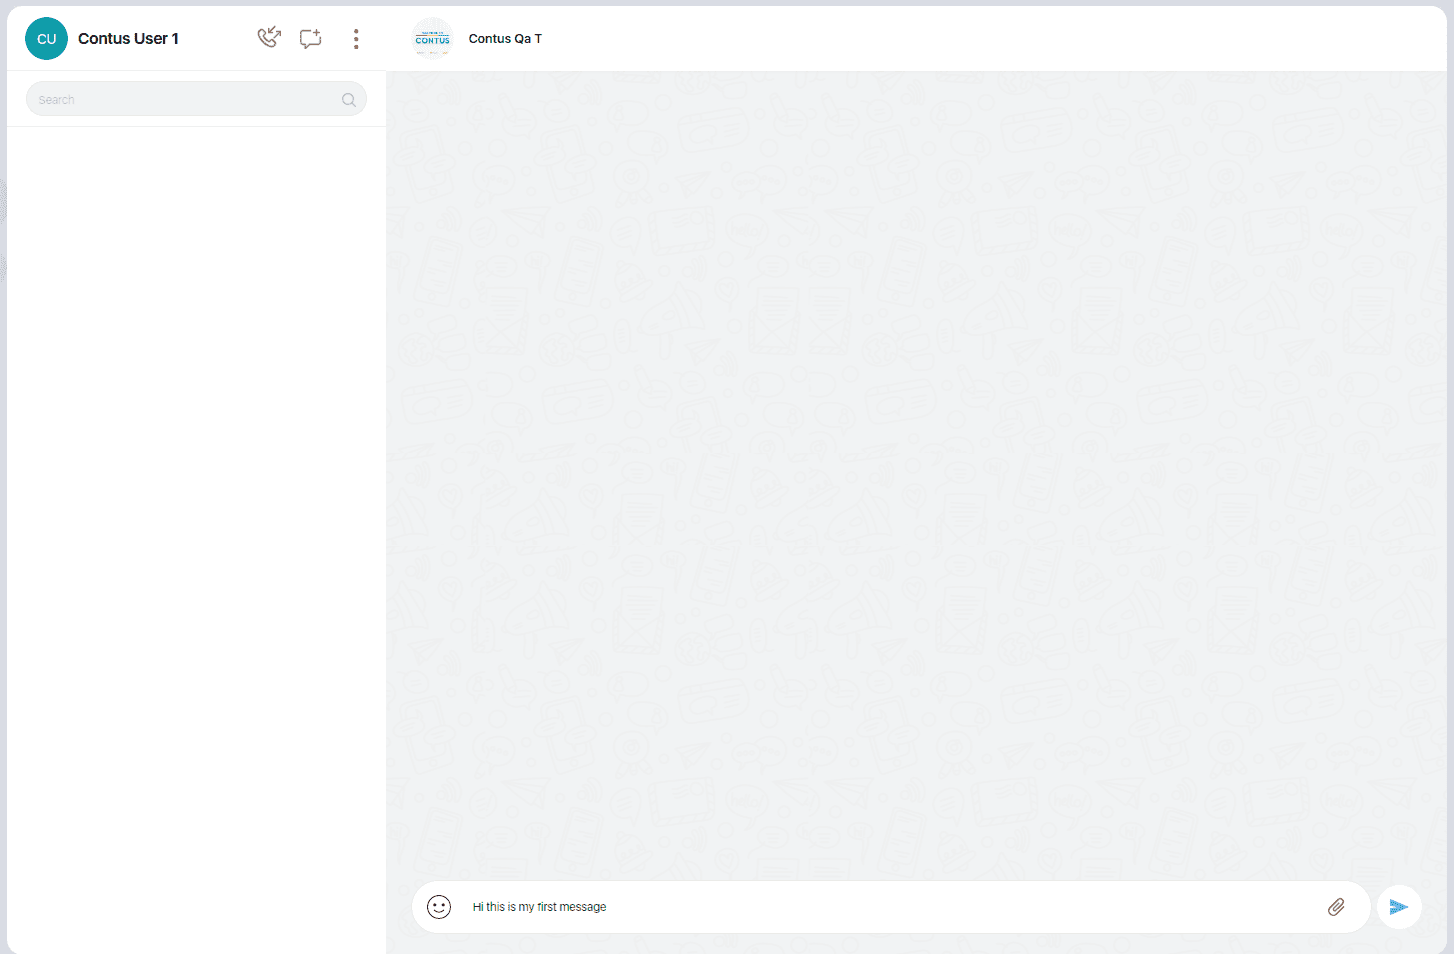
Sending Group Chat Message#
Your can also connect to more than one member in group chat conversation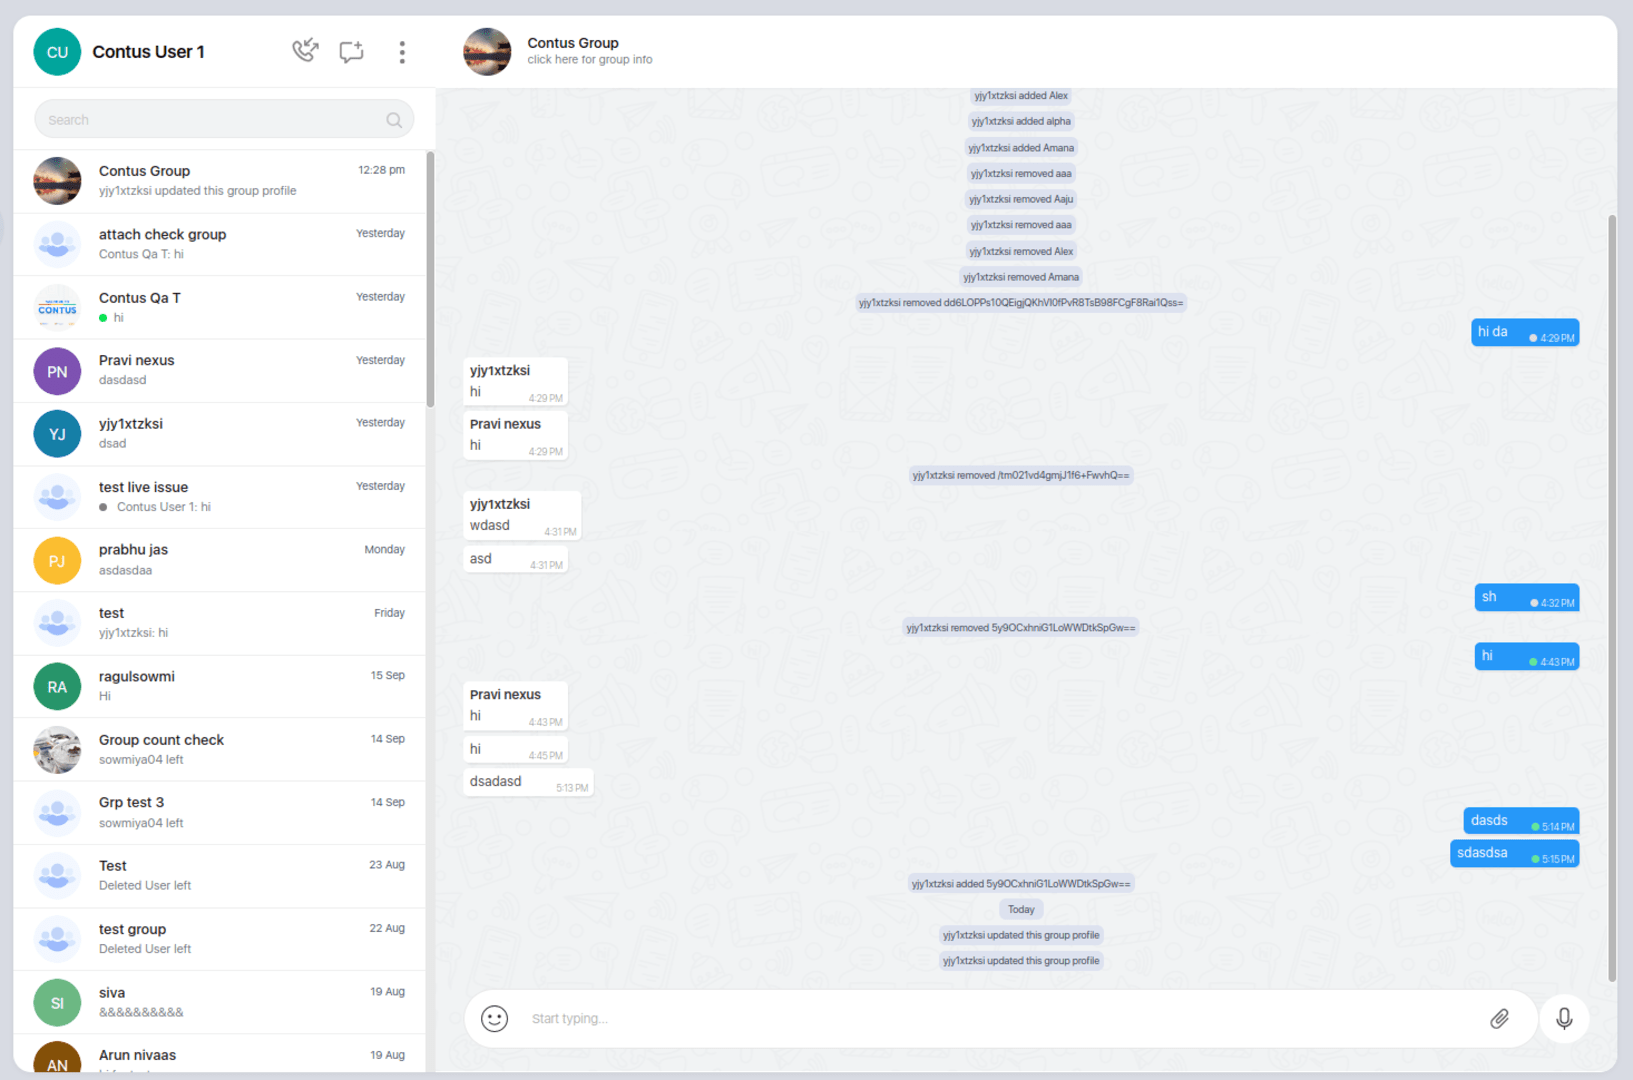
Attachment#
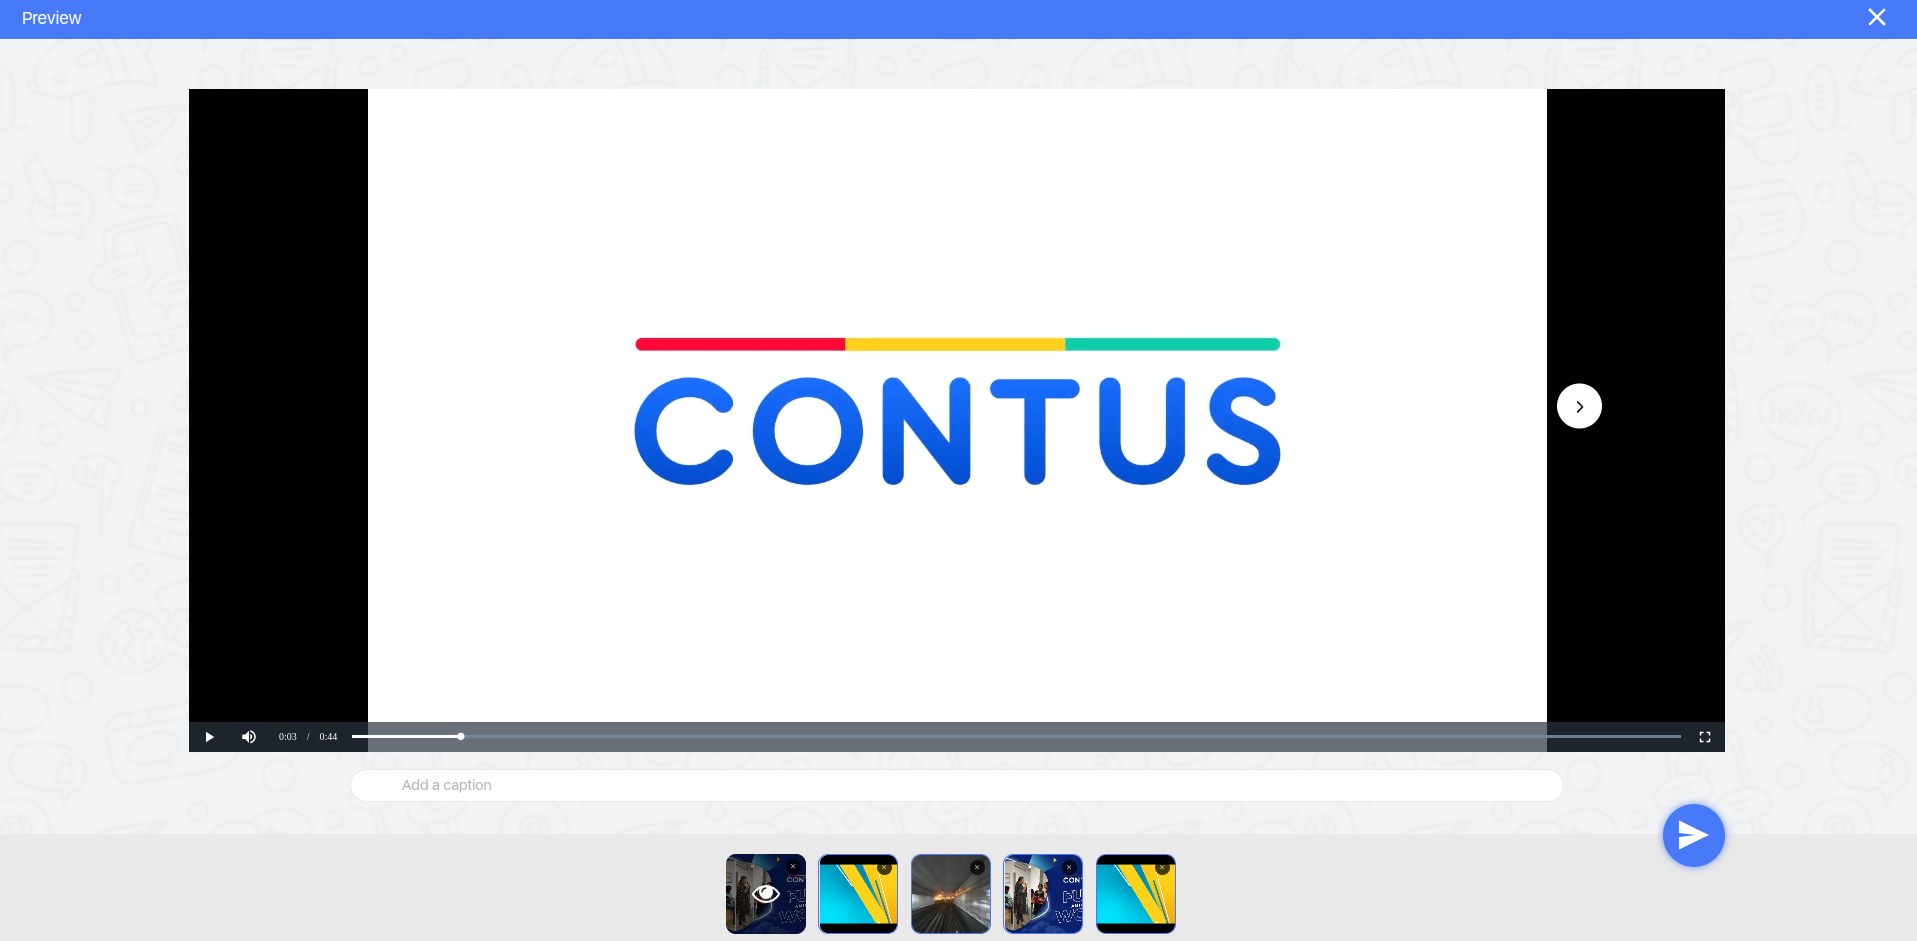
The Mirrorfly-uikit allows you to attach files in the message. The maximum allowed number of files are default to 5. The application can also able to preview the files that are seleted.Click on icon and select files from chat conversation screen, so you can select files from your local
Note : If the Attachment feature is not available on your plan then you will not be able to view it in the Chat Conversation Screen on the Mirrorfly-Uikit.
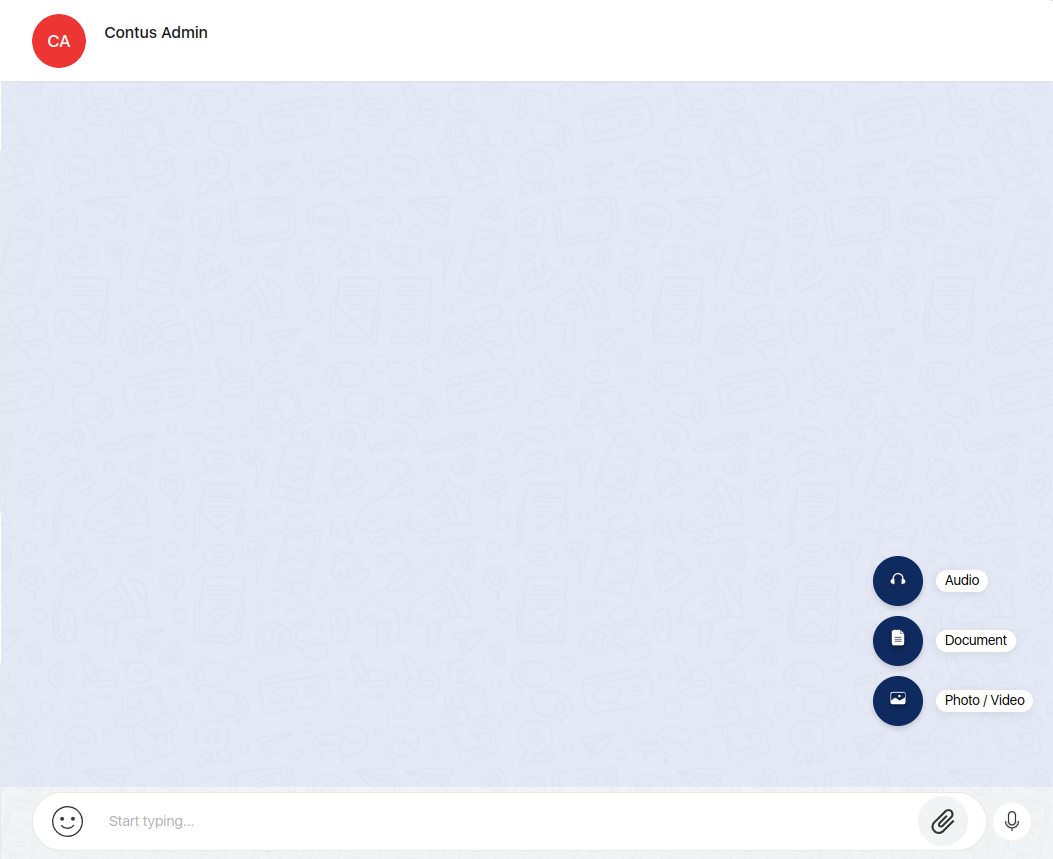
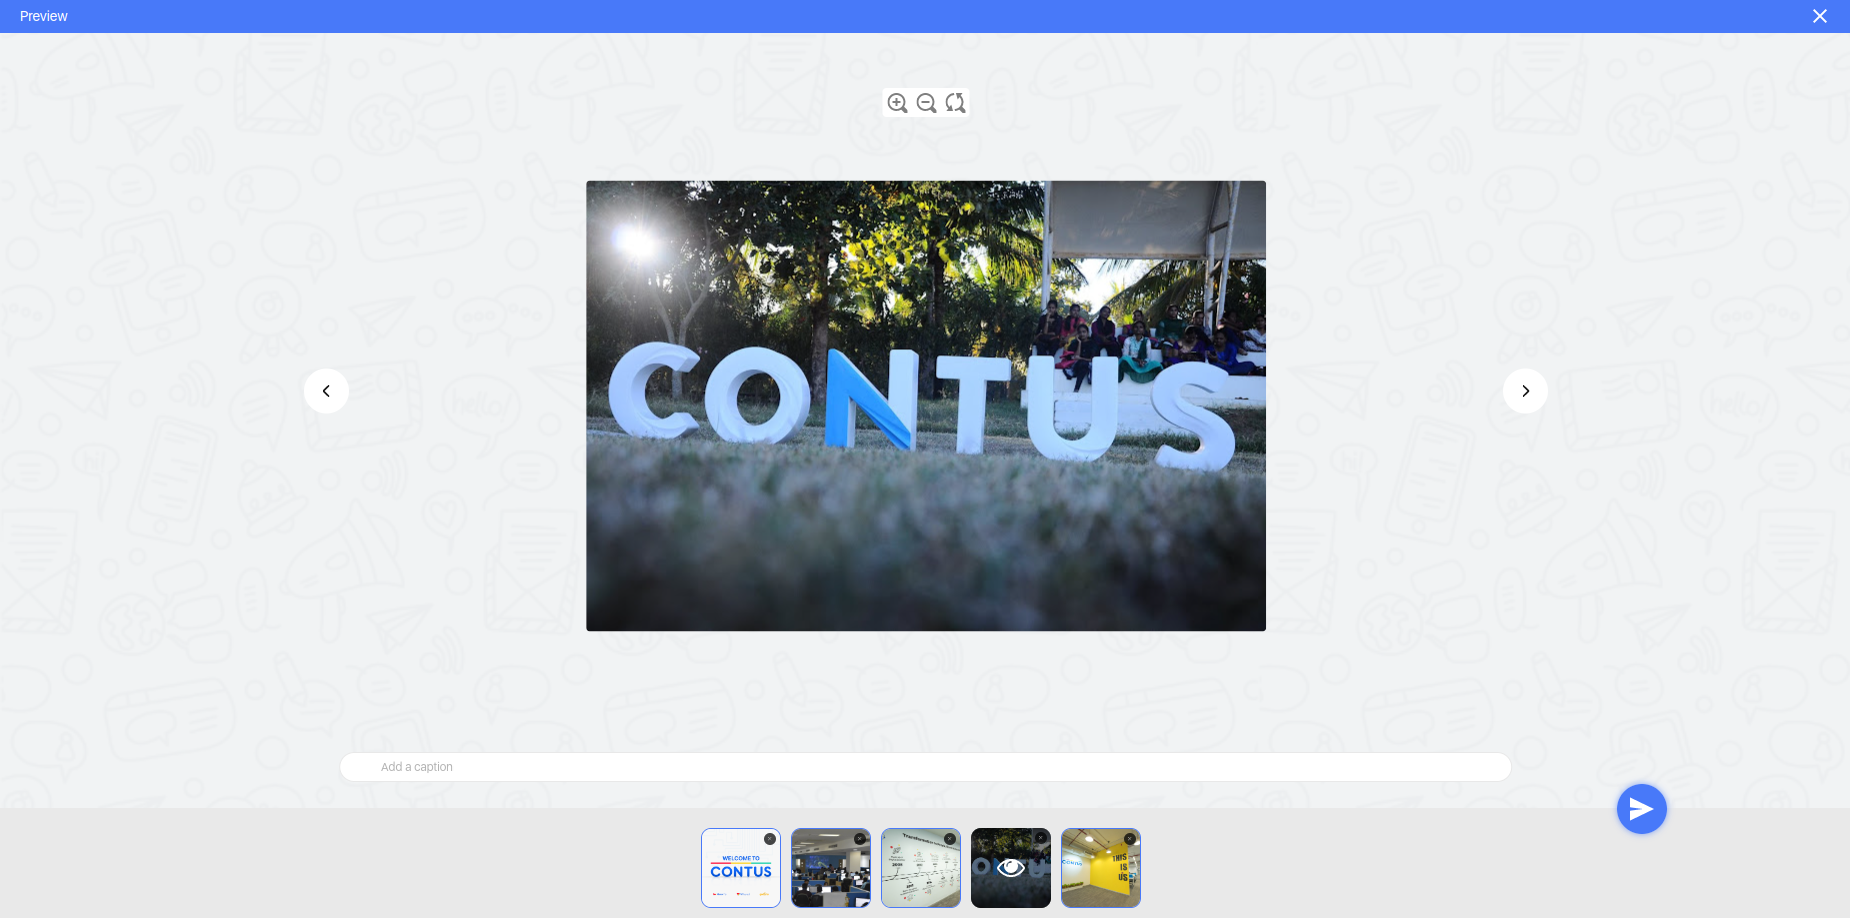
Image Attachment#
The Mirrorfly-uikit allows you to attach images in the message. After Clicking on Photo option in attachments. User select the images in desired format from local, The selected images will be available on preview screenNote : Supported Image Format : png, jpeg, jpg.
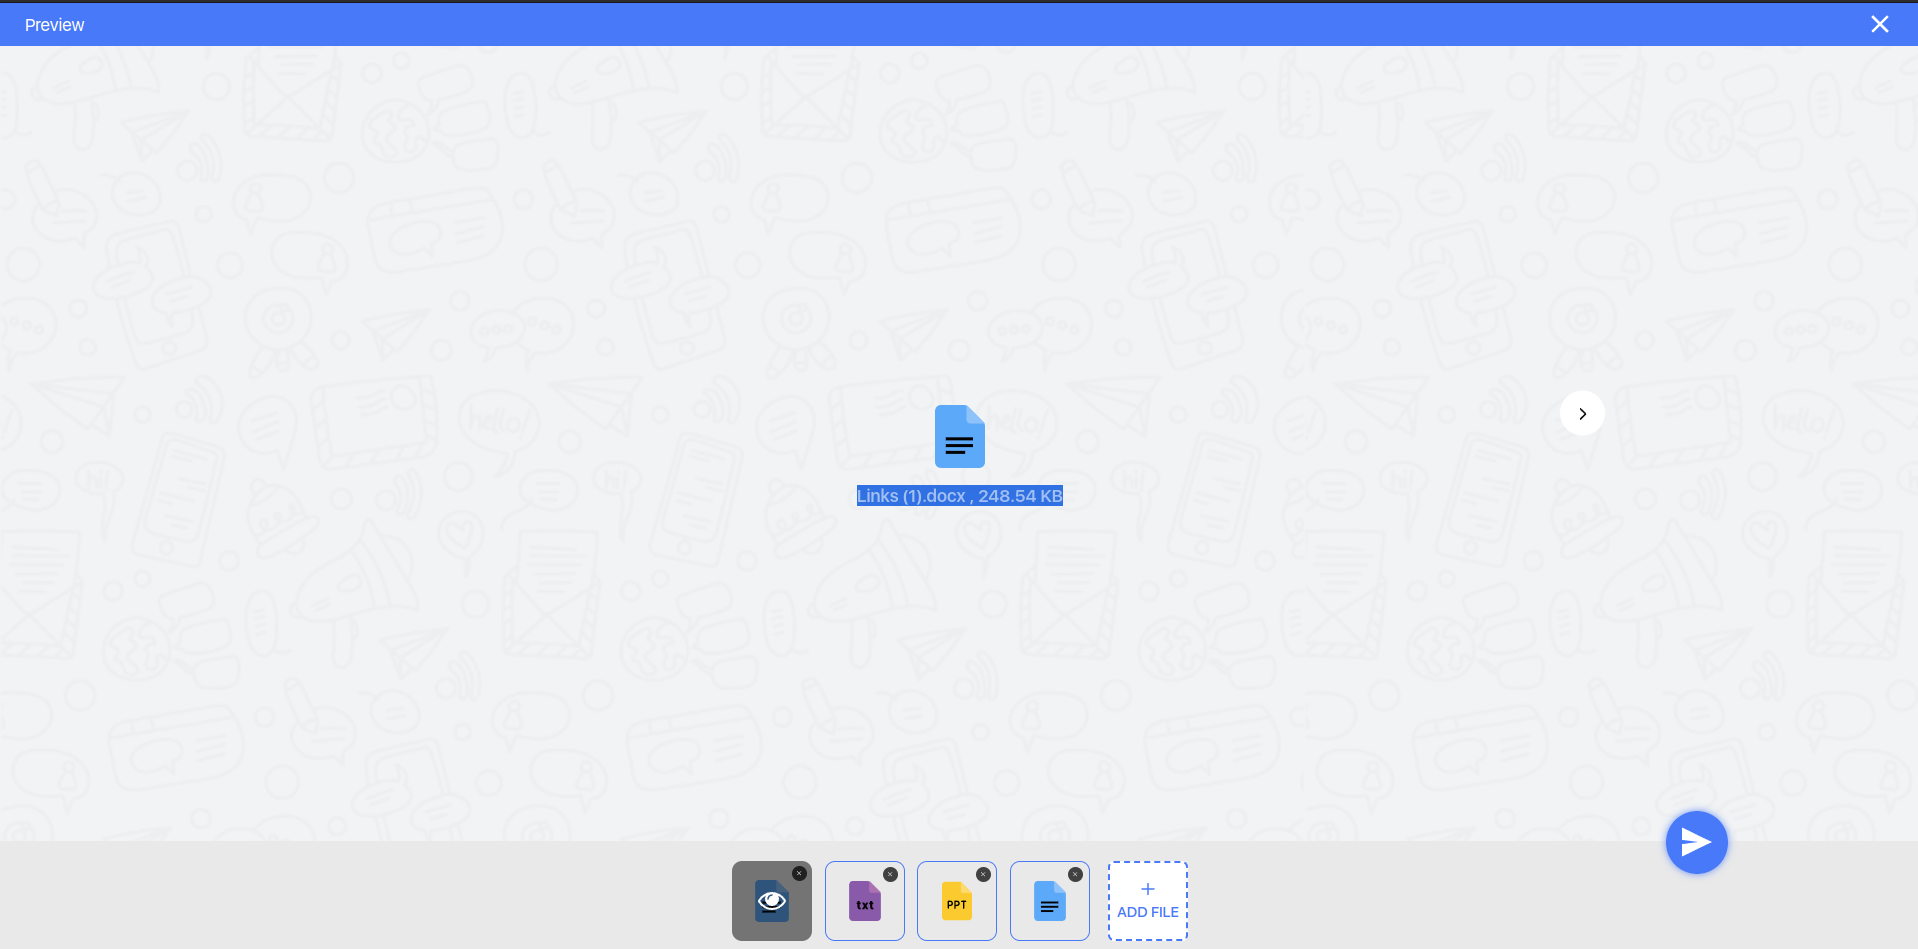
Document Attachment#
The Mirrorfly-uikit allows you to attach documents in the message. After Clicking on Document option in attachments. User select the document in desired format from local, The selected document will be available on preview screenNote : Supported Document Format : doc, docx, pdf, xls, xlsx, txt, csv, ppt, pptx, zip, rar.
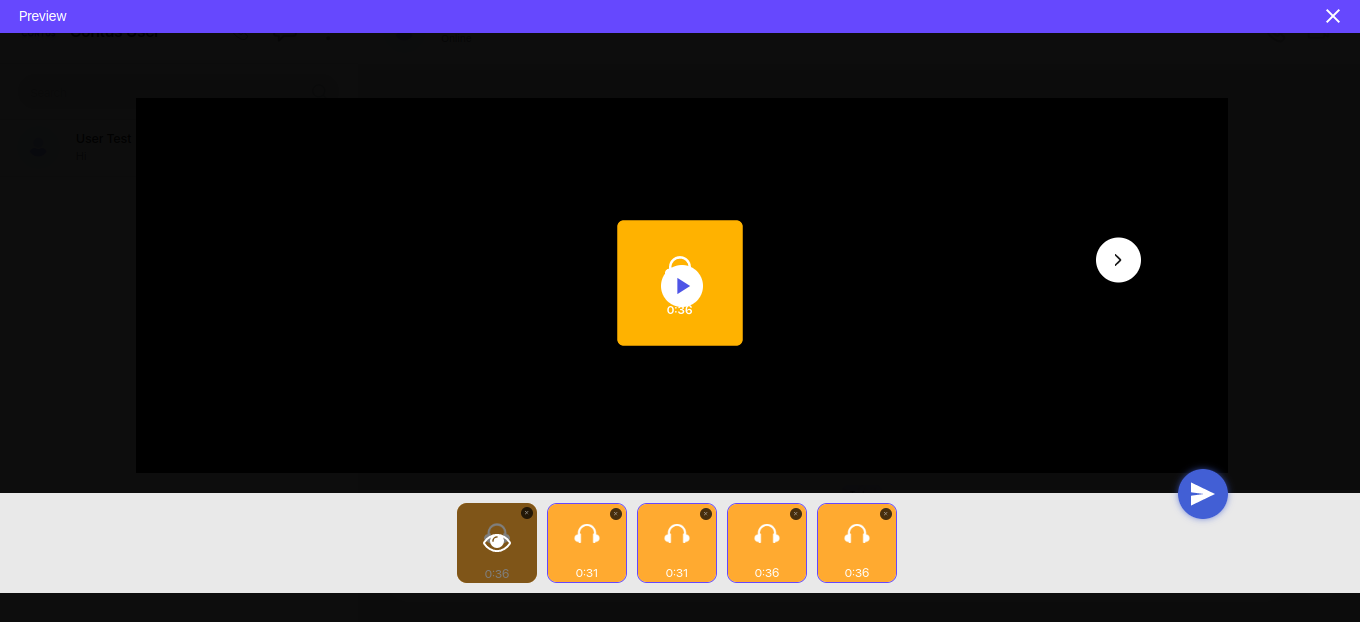
Audio Attachment#
The Mirrorfly-uikit allows you to attach audio in the message. After Clicking on Audio option in attachments. User select the document in desired format from local, The selected images will be available on preview screenNote : Supported Document Format : wav, mp3, aac.
Video Attachment#
The Mirrorfly-uikit allows you to attach video in the message. After Clicking on Video option in attachments. User select the video in desired format from local, The selected video will be available on preview screenNote : Supported Video Format : .webm, .mp4, .x-m4v, video/x-m4v.