Let's integrate our UIKIT in few minutes
SDK UIKit for Angular#
Mirrorfly UIKit Sdk is a set of prebuilt UI components that allows you to easily integrate an in-app chat with all the essential messaging features.
Things to be Noted Before Making a Start#
SDK License Key#
Before integrating CONTUS MirrorFly Chat SDK, you need to have a SDK license key for your MirrorFly application. This SDK needs to be authenticated by the MirrorFly server using the license key for further processing.
To get the License Key,#
Step 1: Register here to get a MirrorFly User account. Registration is subject to verification and would take up to 24 hours.
Step 2: Login to your Account
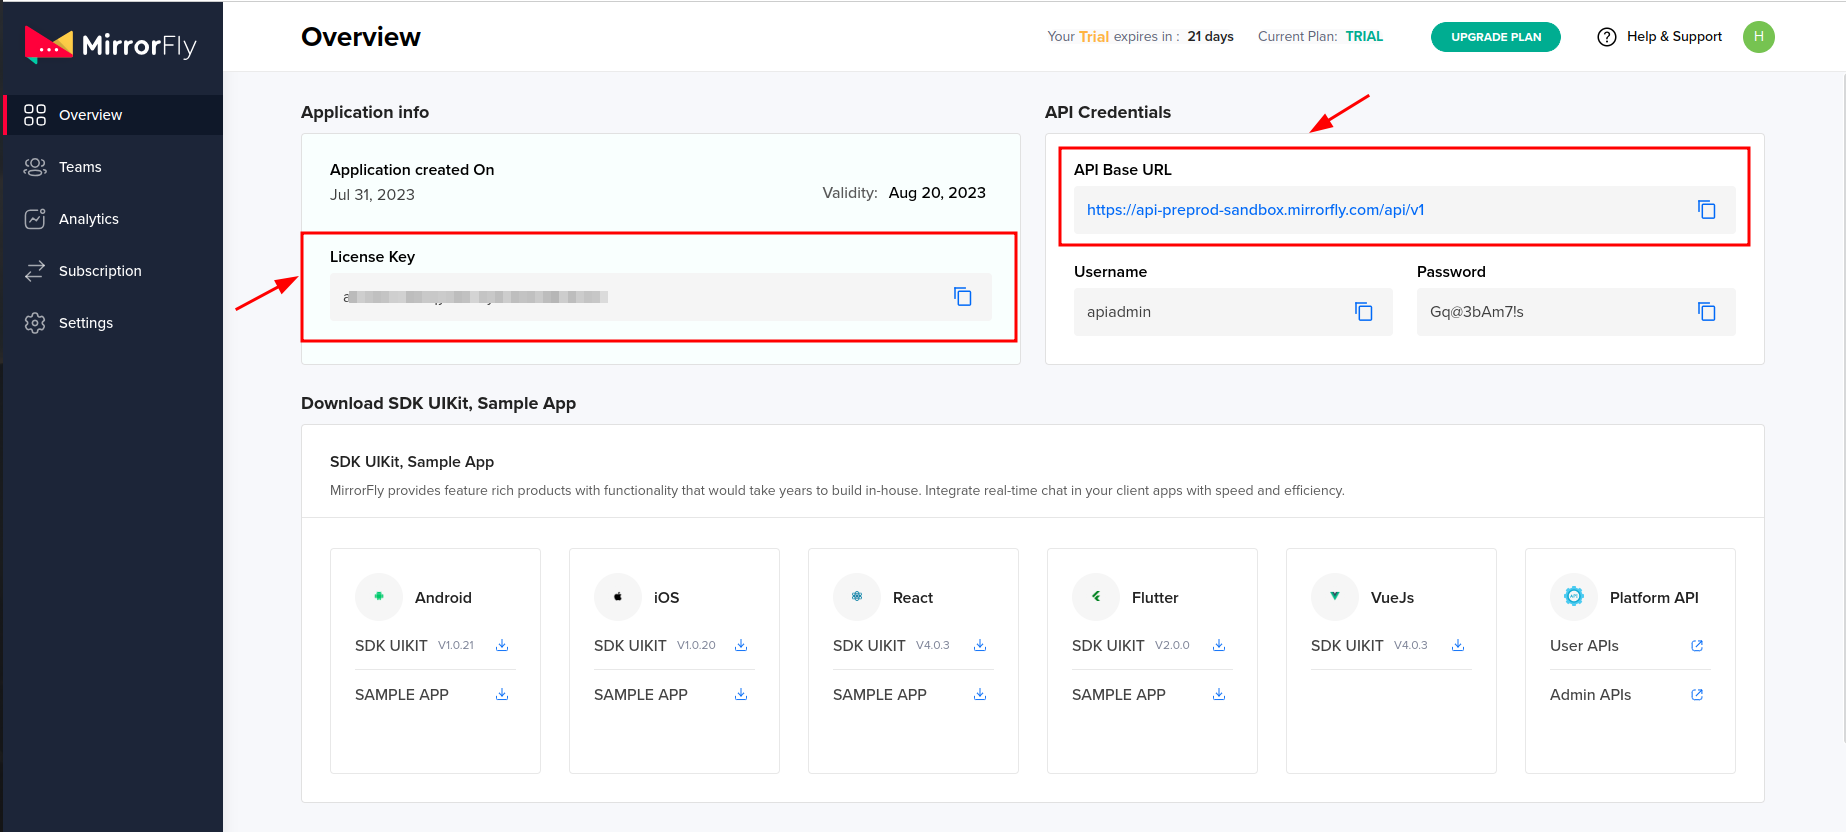
Step 3: Get the License key from the application Info’ section
Integrate the Chat SDK for Angular#
Install mirrorfly-uikit (https://www.npmjs.com/package/mirrorfly-uikit) npm package by terminal command 'npm i mirrorfly-uikit'. Now the node_modules will have a mirrorfly-uikit folder and package.json is added with the mirrorfly-uikit dependency.
- For Angular version 12 or above, follow step1 to step6..
Step 1: Create a new Angular project or Open an existing project.
Step 2: Open terminal and install below package added as mentioned below.
Step 3: Create a file inside project with .tsx and implement the initialization function.
The apiUrl and licenseKey details can get it from the 'Overview' section in the mirrorfly Console dashboard.
| Argument | Type | Description |
|---|---|---|
| licenseKey | String | set your licence key |
| userIdentifier | String | set your phoneNumber |
| apiUrl | String | set your base url |
Step 4: In tsconfig.json file add below codes to run .tsx file in angular
Step 5: In angular.json file add below style & assets path to load our default style & images & icons.
Step 6: In app.component.ts file extend the react component in angular add below codes.
- For Angular version 11 or below, follow step1 to step7.
Note :For angular version below 12 versions of react,react-dom,@types/react-dom,@types/react should be 16
Step 7: In tsconfig.json file add below codes to run .tsx file in angular
Note :To build SSR Configuration in Angular and add below steps to follow.
Step 8: The basic configuration setup for SSR, follow the below codes in server.ts file.
Custom Chat Conversation#
If you need chat conversation page alone initialize customconversation in ChatApp component.
Web SDK Methods#
We can also import Web SDK methods from "mirrorfly-uikit/dist" below code snippet is example to import SDK methods.
Note:By using Web SDK methods you can use prime functionality of mirrorfly outside of Uikit.
Initializing the chat Conversation#
Note : Recent Search chat feature is not available for easy plan then it will not display in Recent Chat Screen in Mirrorfly-Uikit.
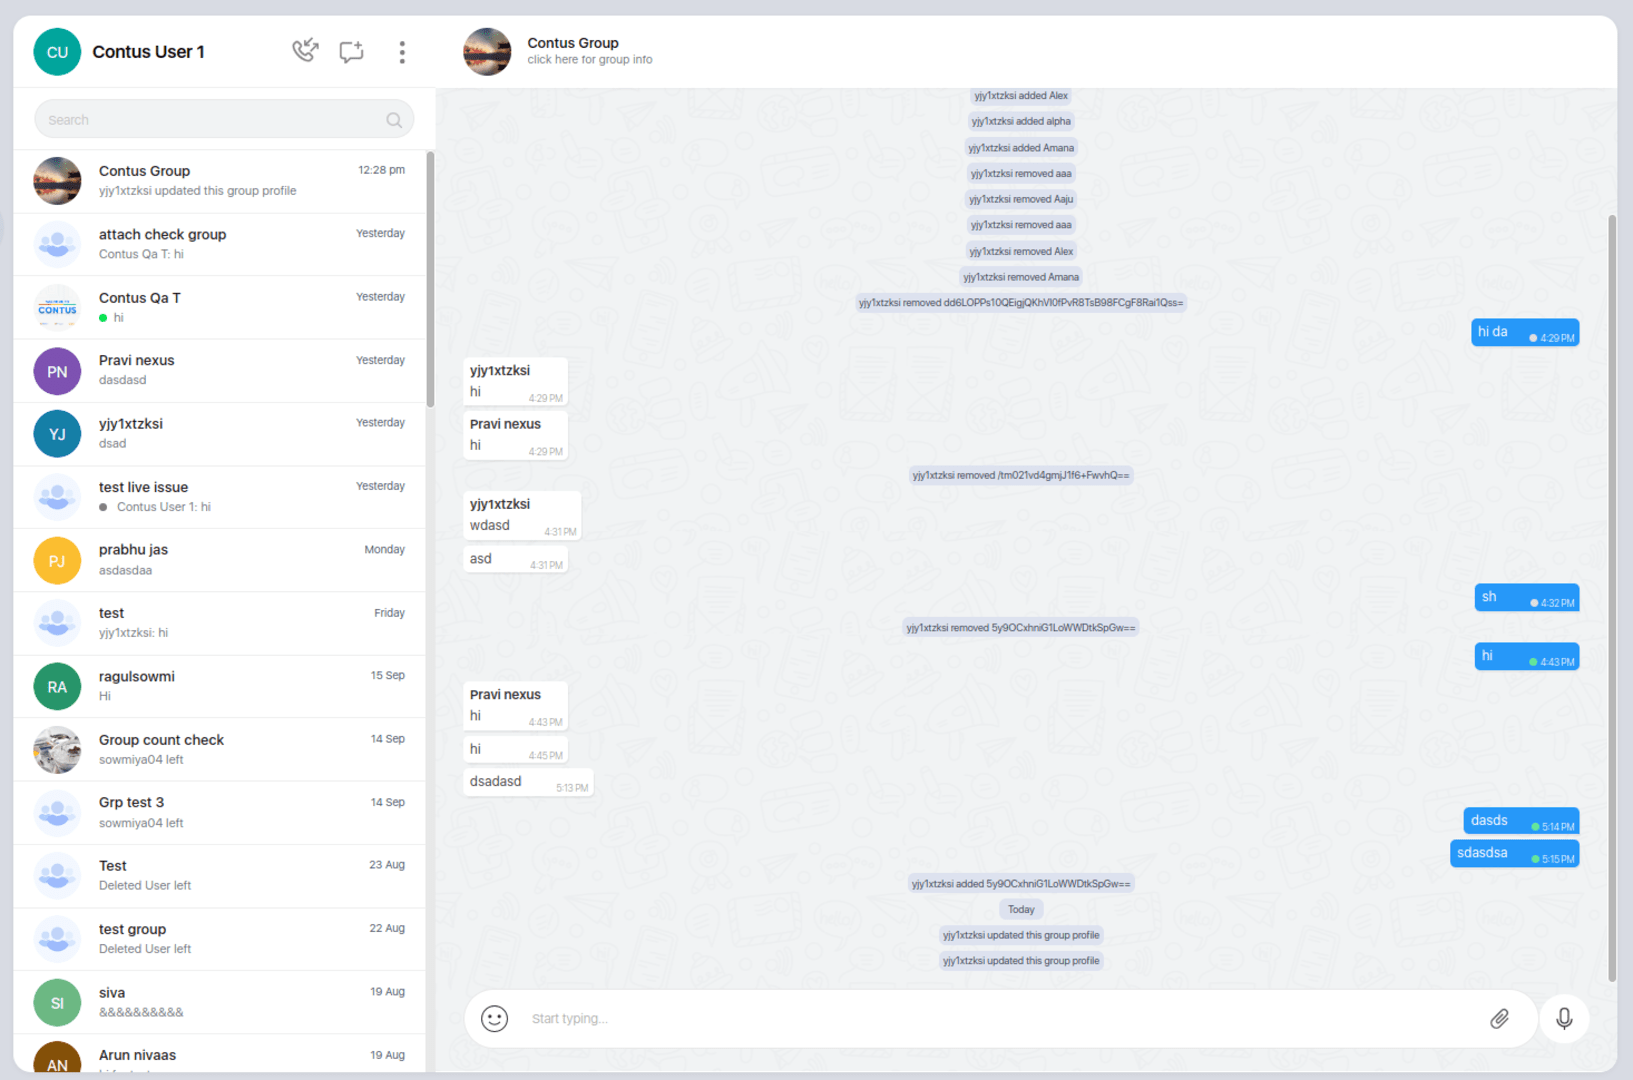
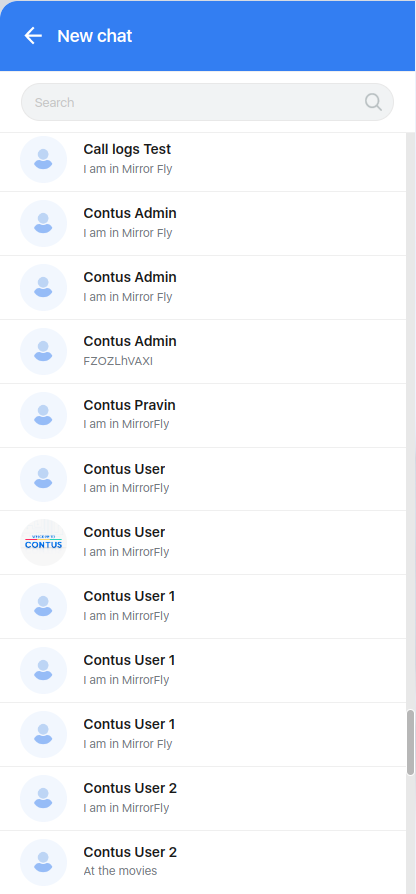
You can now run the application with single React Component. To send a message, you must first start a conversation by clicking on the add new chat icon Then, you can select the user you wish to chat from your contact list.
Sending Single Chat Message#
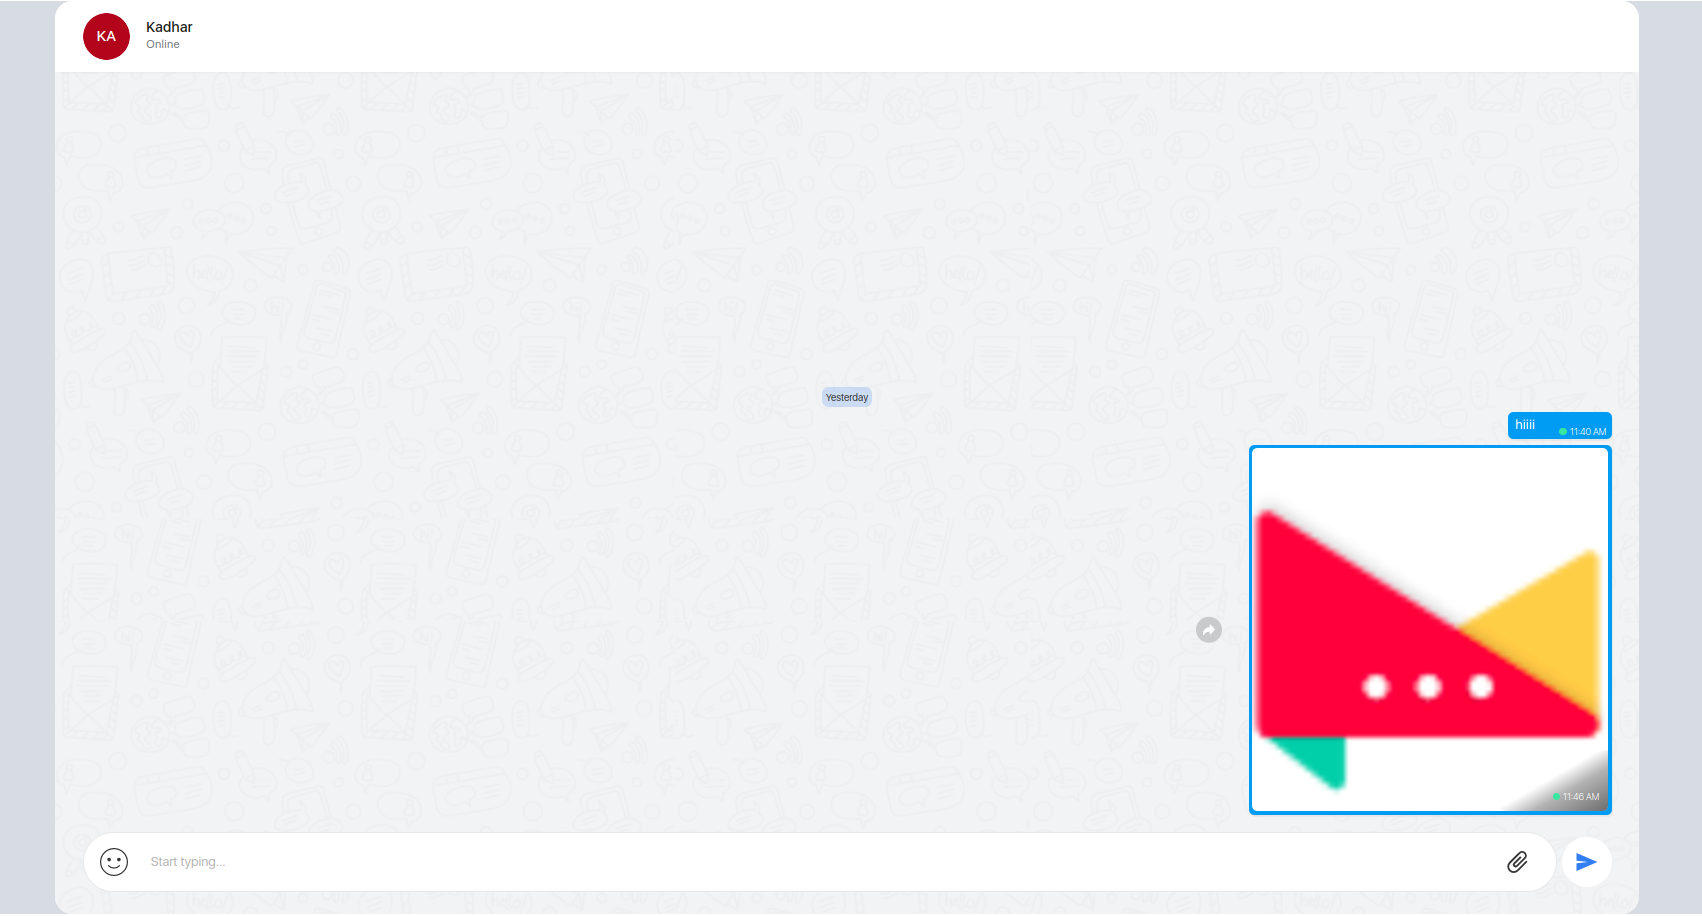
Once navigated to user chat screen, type your first message and click send button .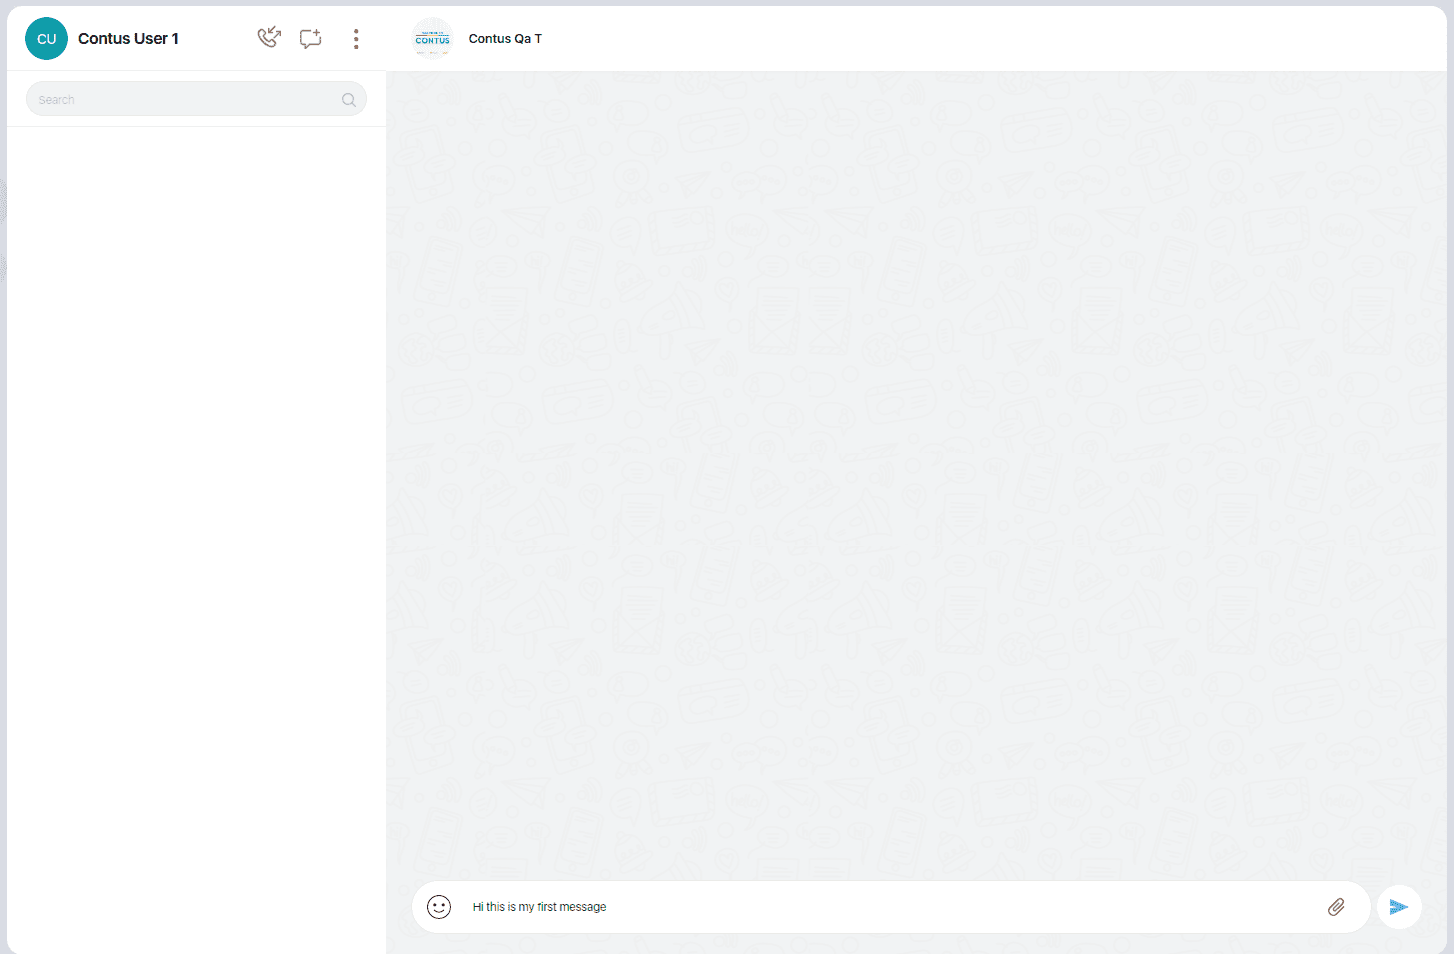
Sending Group Chat Message#
Your can also connect to more than one member in group chat conversation