Welcome to this tutorial on building a chat app for the web!
In this guide, we will show you how to use MirrorFly's chat SDKs to add messaging functionality to your web app, using Javascript, Angular, React, or React Native. It is assumed that you have a basic understanding of Javascript to easily follow the steps instructed throughout this tutorial.
With no further ado, Let’s start with the development!
When you integrate MirrorFly’s messaging SDK, you will be able to implement the following features for your web chat app:
Browser Versions:
| Browser | Comparative versions |
|---|---|
| Safari | 7 or above |
| Chrome | 16 or above |
| Firefox | 11 or above |
| Edge | 13 or above |
Sample App (If you do not have an existing app)
Before you start with the installation, make sure you meet the following requirements.
SDK License Key
Step 1 : Sign up here to create your user account with MirrorFly.
Step 2 : On submission, you will receive a call back from our expert team, to help set up your account.
Step 3 : Next, get the License key. You’ll need this license key to authenticate the SDK in your app project.
In this section, you’ll learn how to integrate Chat SDKs in Javascript, Angular, React and React native.
Step 1 : Please ensure that all your "packages.json" files are up to date.
Step 2 : Verify your package files for any duplicates, especially if you are experiencing issues on iOS
Step 3 : To download the files from the React native SDKs, click on the download button
Step 4 : Unzip the downloaded file and transfer the files from the "dist" folder.
Step 5 : Make a new directory within your project and paste all the copied files into it.
Step 6 : Generate an "SDK.js" file to export the SDK objects. Additionally, you can utilize the provided codes below for importing the SDKs.
import './index';
const SDK = window.SDK;
export default SDK;
Use the below code to integrate the SDK into your chat app project.
                      {
                         "@react-native-async-storage/async-storage": "^1.17.7",//Any version
                         "react-native-get-random-values": "1.7.1",//must use version >=1.7.1
                         "react-native-document-picker" :"8.1.1",// must use version >=8.1.1
                         'realm': "^10.8.0",
                         'react-native-fs':  "^2.18.0",
                         '@react-native-community/netinfo': "^8.0.0",
                         'moment': "2.29.4",
                         'rn-fetch-blob': "^0.12.0",
                         'react-native-compressor': "1.6.1",
                         'react-native-convert-ph-asset': "^1.0.3",
                         'react-native-mov-to-mp4' :"^0.2.2"
                      }
Start the initialization process of the chat SDK by ensuring you have the necessary data that corresponds to changes in the connection status within the client's app.
Now, insert the license key into the "licensekey" parameter, and utilize the provided method below to pass this data through the SDK for subsequent processing.
Note:
For testing purposes, you can locate the details of the sandbox server in the subsequent Sandbox section.
                      const initializeObj = {
                         apiBaseUrl: `API_URL`,
                         licenseKey: `LICENSE_KEY`,
                         isTrialLicenseKey: `TRIAL_MODE`,
                         callbackListeners: {},
                      };
                      await SDK.initializeSDK(initializeObj);
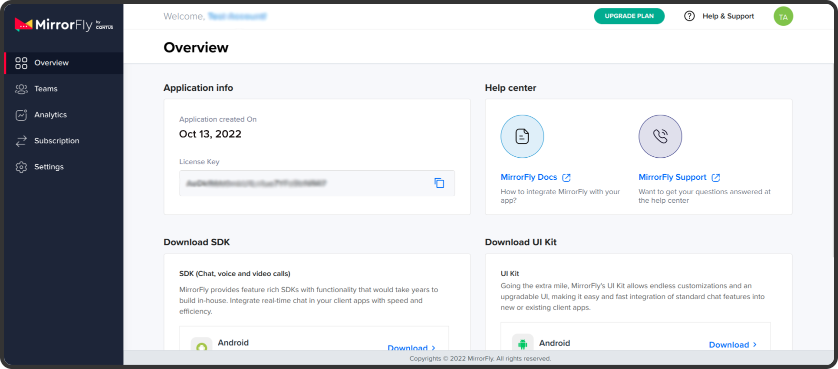
Retrieve the apiUrl and licenseKey details from the 'Overview' section in the MirrorFly Console dashboard.
                         function connectionListener(response) {
                            if (response.status === "CONNECTED") {
                            console.log("Connection Established");
                            } else if (response.status === "DISCONNECTED") {
                            console.log("Disconnected");
                            }
                         }
                      const initializeObj = {
                         apiBaseUrl: "https://api-preprod-sandbox.mirrorfly.com/api/v1",
                         licenseKey: "XXXXXXXXXXXXXXXXX",
                         isTrialLicenseKey: true,
                         callbackListeners: {
                         connectionListener
                         },
                      };
                      await SDK.initializeSDK(initializeObj);
Note:
Explore the Callback Event Listener Section for more information on callback listeners.
                      {
                         "statusCode": 200,
                         "message": "Success"
                      }
Step 1 : Utilize the method provided below to register a new user.
Step 2 : After registration, you will receive a username and password. Use these credentials to establish a connection with the server through the connect method.
Sample Response:
                             {
                            statusCode: 200,
                            message: "Success",
                            data: {
                            username: "123456789",
                            password: "987654321"
                            }
                         }
Step 1 : Utilize the credentials obtained during registration to establish a connection with the server.
Step 2 : Upon successfully establishing the connection, you will receive an approval message with a 'statusCode' of 200; otherwise, an execution error will be encountered.
Step 3 : Additionally, you can track the connection status through the connectionListener callback function.
Step 4 : In case of any errors during the connection attempt, you will receive an error message through the callback.
await SDK.connect(`USERNAME`, `PASSWORD`);
Sample Response:
                         {
                            message: "Login Success",
                            statusCode: 200
                         }
To send a message to another user, utilize the method provided below:
                         {
                            message: "Login Success",
                            statusCode: 200
                         }
Response Format:
For detailed information on a variety of login and profile-related configurations, please check the Profile Section.
To receive messages from another user, you need to implement the messageListener function. This function will be triggered whenever a new message or related event is received in one-to-one or group chat. Additionally, during the SDK initialization process, make sure to include the following callback method:
                     function messageListener(response) {
                         console.log("Message Listener", response);
                      }
As seen from this tutorial, you’ll now be able to develop your own web chat apps in just 6 steps. If you’d like to take a step further with adding other functionalities, here are some of our tutorials you may need to check out:
Hope you find this tutorial helpful. Happy developing!
Add chat features to your Flutter apps - in 10 minutes - with just a few lines of code.
Request DemoDrive 1 billion + conversations on any Android, iOS, or Web app with 500+ chat features & 100+ UI components.