Video call apps are becoming incredibly popular for staying connected these days. And if you are a developer or a business owner, it is important to leverage the convenience of Software Development Kits (SDKs) instead of starting from scratch.
This tutorial will walk you through the complete process of integrating MirrorFly’s SDKs into iOS video chat apps using Swift
Using MirrorFly’s Messaging SDKs, the below list of video calling features can be integrated into apps in the iOS platform
To get ready for building a video app, it's important to review the list of fundamental requirements needed for the development process.
Explore more features from MirrorFly here
To get the License Key,
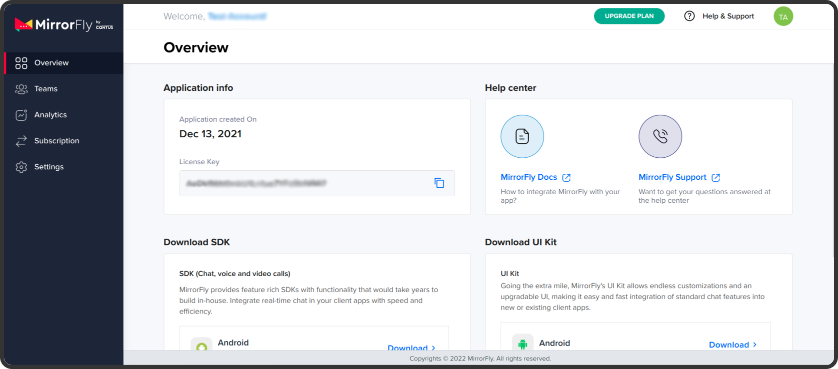
Step 1 : The first step of this chat app development is to create an account with MirrorFly.
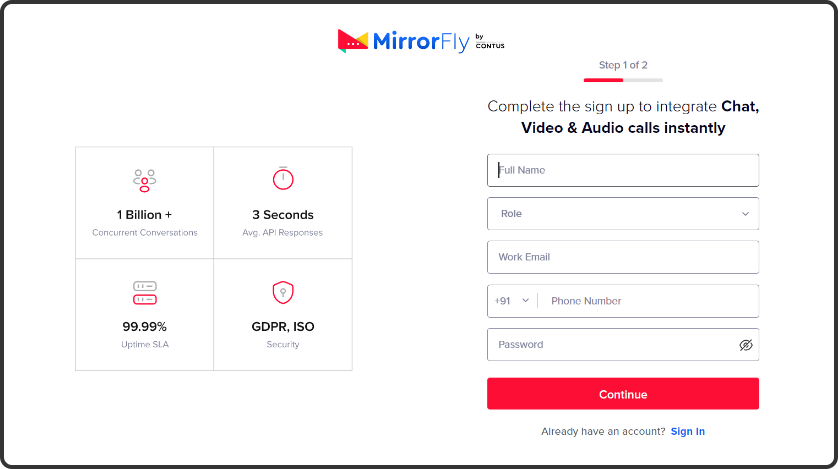
Step 2 : In our official contact page, fill in your details. Our expert will get in touch with you for the next steps with the account.
Step 3 : Log into your account and get the license key.
Step 1 : To use the ChatSDK in your project, you need to add it to your Podfile. If you haven't created a Podfile yet, run the command "pod init" to initialize one. Then, add the ChatSDK pod to the Podfile.
pod 'MirrorFlySDK', '5.13.9'
Step 2 : To complete the setup, please use the provided pod hook code block at the end of your Podfile. After that, execute the command "pod install" to install the pods.
                         post_install do |installer|
                     installer.pods_project.targets.each do |target|
                         target.build_configurations.each do |config|
                         config.build_settings['IPHONEOS_DEPLOYMENT_TARGET'] = '12.1'
                         config.build_settings['ENABLE_BITCODE'] = 'NO'
                         config.build_settings['APPLICATION_EXTENSION_API_ONLY'] = 'No'
                         config.build_settings['EXCLUDED_ARCHS[sdk=iphonesimulators*]'] = 'arm64'
                         config.build_settings['BUILD_LIBRARY_FOR_DISTRIBUTION'] = 'YES'
                         end
                     end
                     end
Step 3 : Now, turn off bitcode for your project.
Goto Project -> Build Settings -> Filter the term `Bitcode` -> and select No from the dropdown
Step 4 : Now, enable all the capabilities listed below for your project.
Goto Project -> Target -> Signing & Capabilities -> Click + at the top left corner -> Search for the capabilities below
| Capabilities |
|---|
| Background Modes |
Now, go to the background mode and enable the below given modes.
| Background Modes |
|---|
| Voice over IP |
Step 5 : Allow access to record audio and video by enabling the necessary permissions. Make sure to include descriptions for microphone and camera usage in your project's plist file.
Now, set up the server details in the SDK and make the data globally accessible by using the AppDelegate class.
                     let LICENSE_KEY = "xxxxxxxxxxxxxxxxxxxxxx"
                     let CONTAINER_ID = "xxxxxxxxxxxxxxxxxxxxxx"
Initialization Process: Start using the SDK by providing necessary data for optimal functionality.
License Key Validation: Utilize the initializeSDK function to validate the license key and obtain critical data from the server during SDK initialization.
Integration in AppDelegate: In your project, incorporate the initialization method within the didFinishLaunchingWithOptions method of the AppDelegate class. Pass the license key as a parameter to ensure proper initialization.
ChatManager.initializeSDK(licenseKey: LICENSE_KEY) { isSuccess, flyError, flyData in }
Call the method below to register a new user.
This method handles both Sandbox mode registration and Live mode registration, depending on the value of isTrialLicense provided in the ChatSDK.Builder class.
                             try! ChatManager.registerApiService(for:  USER_IDENTIFIER ) { isSuccess, flyError, flyData in
                             var data = flyData
                             if isSuccess {
                             // This is your Password
                             guard let password = data["password"] as? String else{
                                 return
                             }
                             // This is your Username
                             guard let username = data["username"] as? String else{
                                 return
                             }
                             // This is your JID
                             guard let username = data["userJid"] as? String else{
                                 return
                             }
                             }else{
                                 let error = data.getMessage()
                                 print("#chatSDK \(error)")
                             }
                              }
Following a successful registration, invoke the method below to initialize the Call SDK.
try! CallManager.initCallSDK()
To transfer the initial call data payload, utilize the Chat server. After a successful registration, ChatSDK will automatically attempt to connect to the Chat Server.
It also monitors changes in the application state, adjusting its connection to the Chat Server accordingly by attempting to connect or disconnect as needed.
You can monitor the connection status by using the ConnectionEventDelegate. Just set the 'delegate' in your ViewController's viewDidAppear method, like this.
ChatManager.shared.connectionDelegate = self
To watch and keep track of the connection status, confirm the ConnectionEventDelegate. Set the 'delegate' in your ViewController's viewDidAppear method, like this:
                     func onConnected() {
                     // Navigate to Conversation screen
                     }
For further information about the ConnectionEventDelegate, please visit the ConnectionEvent Delegate.
To observe Call events, create and set a Singleton Class that conforms to the CallManagerDelegate of the FlyCall framework. Then, pass that object to the method below:
CallManager.setCallEventsDelegate(delegate: CALLMANAGER_DELEGATE)
To configure the Call UI presented during an outgoing call, use the following method. Pass an instantiated view controller object as a parameter to the method.
CallManager.setCallViewController(CALL_VIEW_CONTROLLER)
The Call SDK manages the UI presentation for outgoing calls. Call the method below after initializing the Call SDK and before making a call. This method sets the view on top of which the call UI will be presented.
CallManager.setViewToPresentController("VIEW_TO_PRESENT")
Most SDK methods require the JID as an input parameter. Therefore, the SDK provides the utility method below to prepare the JID. This method constructs the user's JID from the username obtained in the Register response.
try? FlyUtils.getJid(USER_NAME)
To initiate a one-to-one voice call, use the method provided below.
                         CallManager.makeVoiceCall(USER_JID) { [weak self] (isSuccess , message)  in
                         if isSuccess  {
                             // SDK will take care of presenting the Call UI. It will present the ViewController that is passed using the method `CallManager.setCallViewController()`
                         }
                     }
The Chat Server to transfer the initial call payload from the caller to the callee, once the aforementioned "make call" function is successfully processed, the corresponding delegate method of CallManagerDelegate will be triggered. In this method, you can utilize the ChatSDK method to send the initial calling payload to the callee.
                     func sendCallMessage( groupCallDetails : GroupCallDetails , users: [String], invitedUsers: [String]) {
                     try? FlyMessenger.sendCallMessage(for: groupCallDetails, users : users , inviteUsers: invitedUsers) { isSuccess, flyError, flyData in
                         var data  = flyData
                         if isSuccess {
                             print(data.getMessage() as? String ?? "")
                         } else{
                             print(data.getMessage() as! String)
                         }
                     }
                     }
The Call SDK manages the reception and processing of received call payloads, triggering the CallKit when your app is in the foreground. When CallKit presents the Accept/Reject Call buttons, you can choose to answer or reject the call. If you answer the call, the following method of the CallManagerDelegate will be triggered, and the status will be "ATTENDED." Inside this method, you can present the incoming call UI.
func onCallStatusUpdated(callStatus: CALLSTATUS, userId: USER_ID) {
Each module in the APIs and SDKs focuses on providing a quality communication experience to your app users. We hope this tutorial has served its purpose in helping implement video calling features into your iOS video chat apps.
However, if you may need any further support with the integration process, our sales team would be more than happy to help you. Talk to our experts now!
Add chat features to your Flutter apps - in 10 minutes - with just a few lines of code.
Request DemoDrive 1 billion + conversations on any Android, iOS, or Web app with 500+ chat features & 100+ UI components.