Request Demo
Home
Products
SELFHOSTED AI CHAT & CALLS
Self Hosted Chat & Calls
Add real-time chat experiences into any web or mobile platforms.
SIP & VOIP Calling
Connect Users Via Voice Calls On Internet-Enabled Devices.
HQ Voice Call API
Make & Receive Unlimited Voice Calls Across Any Device.
HD Video Call API
Create Video Chat Experiences Across Any Web & Mobile Apps.
In-App Chat API
Secure & Scalable Chat API For Mobile And Web Apps.
Activity Feed API
New
Scale Up Interactions With Custom Feeds On Your Enterprise Apps.
On-Premises Chat Server
Host Your App On Your Own Premise Or Cloud Servers.
Virtual Consultation Software
Connect Patients To Doctors For Consults Over HQ Video Calls.
Multi-tenant Chat Server
Multi-Tenant Saas Chat Server To Manage Multiple Business Apps.
Live Streaming SDK
Stream your live video content to millions of viewers worldwide.
SELF-HOSTED AI AGENTS
Conversational AI
Add AI-powered agents that drive unlimited interaction on your apps.
AI Voice Agent
Build Custom, White-label AI Voice Agents For Any Mobile Or Web.
AI Chatbots
New
Create Secure, Self-hosted AI Chatbots in minutes.
Speech-to-text
Fast, accurate & multilingual solution to transcribe conversations.
AI Contact Center
Automate customer service ops with AI-powered chat & calls.
CUSTOMER STORIES
See How Ejada Built A Multi-Tenant Chat Architecture
Connecting 25M+ active users in the Telecom industry
12L+ users in India’s 1st Super App connects with MirrorFly
Ensuring 3.5M+ homes safety, powered by MirrorFly
Serving 10M+ active users with custom Telecom solutions
All Our Customer Stories
Enterprise IM
Solutions
OUR INDUSTRIES
Telecommunication
Add Enterprise-Grade Communication Features To Your Telecom App.
Banking & Finance
Secure Banking Experiences Across Customer Touchpoints.
Social & Communities
Mirrorfly Is Perfect When Embedded In Social Engagement Apps.
E-Commerce & Marketplace
Enhance Your Brand Experience With Real-Time Communication.
Digital Healthcare
Improve Patient Engagement With Modern Telehealth Solution.
Online E-learning
Make learning a virtual experience to connect the Students & Teachers.
Fitness & Wellness
Drive Effective Engagement Among Fitness Trainers & Trainees.
Transport & Logistics
Maximize User Interactions Across Your Transportation Apps
All Use Cases
OUR USECASES
Saas Business (Multi Tenant)
Multi-Tenant Saas Chat Server To Manage Multiple Business Apps.
Video KYC Solution
Verify Customers In Real-Time With White-Label Video Solution.
Webrtc Video & Voice Call
Drive Real-Time Communication On Any Web Or Mobile App.
Virtual Consultation Software
Connect Patients To Doctors For Consults Over HQ Video Calls.
Developers
CHAT + VOICE + VIDEO CALL SDK
Flutter
Build Your Own Custom Flutter Apps With Messaging Features.
Kotlin
Develop Communication Apps Effortlessly With Our Kotlin SDKs.
React Native
Secure banking experiences across customer touchpoints.
Swift
Make Your Ios Apps Engagement-Rich With Our Swift SDKs.
Angular
Drive Billions Of Conversations In Your App With Our Angular SDK.
Javascript
Engage Users Via Your Web Platform With Our Javascript SDK.
React JS
Develop Interactive Web Apps For Your Users With Our Reactjs SDK.
Objective-C
Create Chat And Call Apps For Ios And Os X With Our Objective-C SDK.
Documentation (API & SDK)
Read Our Step-By-Step Instructions On How To Use Our SDKs.
UI Kit
Make Your App Highly Responsive And Intuitive With Our Ui Kit.
All Our SDK’s
Features
AI CPAAS FEATURES
1000+ AI Chat & Calls Features
Add 100% customizable, self-hosted video, voice & chat features for app or web.
500+ AI Agent Features
Build your own white-label AI Agents that can automate tasks on your app or web.
Request Demo
Sign in
Try it free
Mirrorfly blog
10 Best Employee Communication Platforms (2026 Reviews)
Tech Talks
10 Best Employee Communication Platforms (2026 Reviews)
Tech Talks
We Compared The 10 Best Video Meeting Solutions For 2026
Shyam Vijay
Tech Talks
10 Best Rocket.Chat Alternatives & Competitors in 2026
Atchaya Jayabal
Recent Updates
Engineering
10 Best Workplace Communication Software in 2026 (Reviewed & Ranked)
Atchaya Jayabal
Engineering
Top 10 Instant Messaging API & SDK Features for Any Apps
Sivanesh
Conversational AI
10 Best White Label AI Chatbot Platforms: The Ultimate Guide (2026)
Shyam Vijay
Engineering
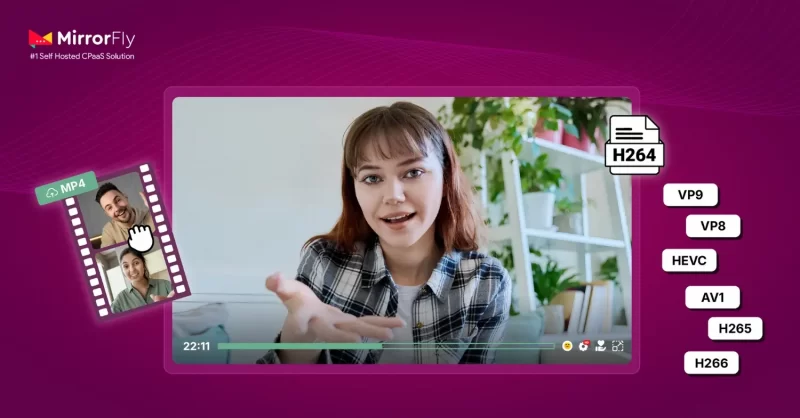
Video Codecs and Encoding: Types & Workflows (2026 Guide)
Atchaya Jayabal
Engineering
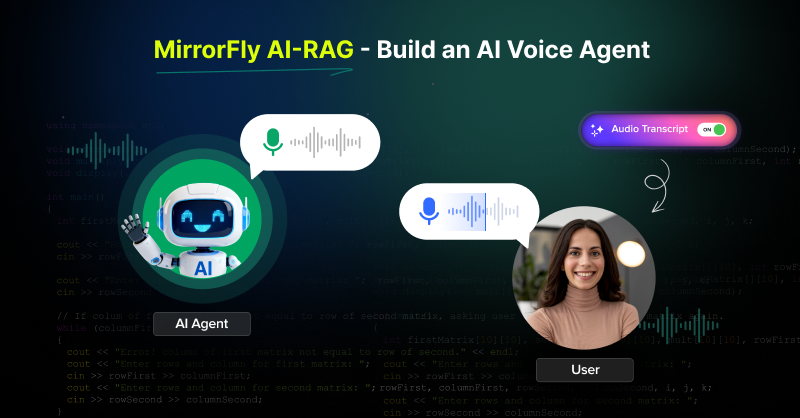
How to Build an AI Voice Agent with MirrorFly AI-RAG? (2026 Guide)
Atchaya Jayabal
Conversational AI
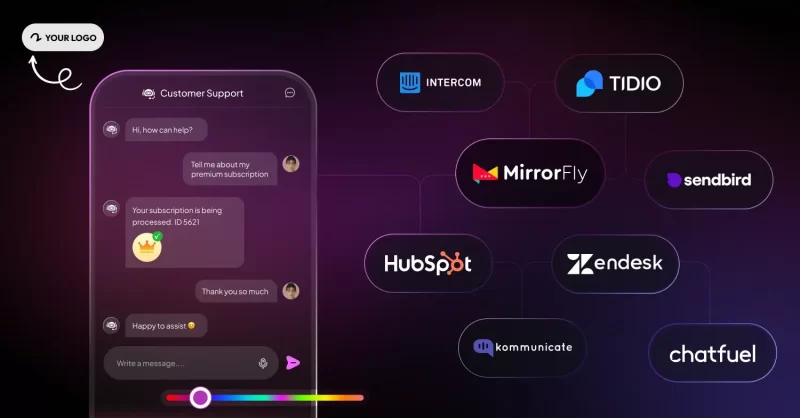
I Tested 10 Top AI Chatbots For Customer Service in 2026 (Ranked & Reviewed)
Atchaya Jayabal
View all Post
Categories
Conversational AI
13
Engineering
14
Insights
6
Product News & Updates
1
Tech Talks
120
More Insights For You
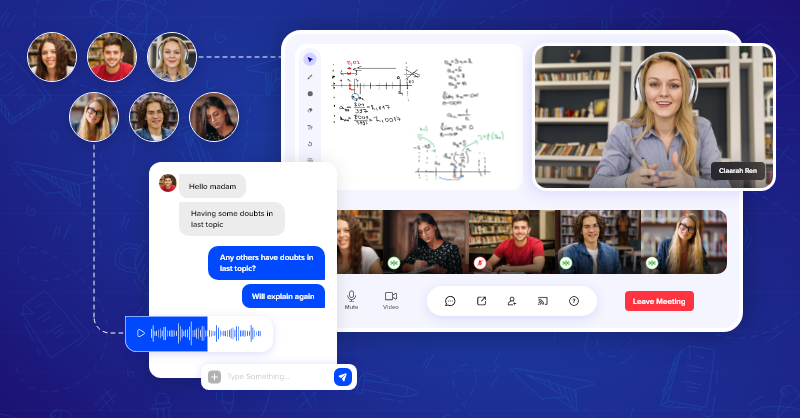
How to Build a Virtual Classroom App for iOS Using Swift?
Encrypted Chat Security & Privacy: Read Detailed Guide [2026]
10 Best HIPAA Compliant Chat APIs & SDKs (2026 Reviews)
How to Build a Live Stremaing App: Complete Guide for 2026
I Tested The 10 Best AI Voice Assistants (ONE is the winner)🥇
10 Best Internal Communication Software for Hybrid Teams
Request Demo


![Encrypted Chat Security & Privacy: Read Detailed Guide [2026]](https://www.mirrorfly.com/blog/wp-content/uploads/2022/04/Chat-Privacy.webp)