New Say Goodbye to Zoom👋. Build a Self-Hosted Chat & Meeting App.Try MirrorFly Now!
Start building your communications solution with MirrorFly by exploring our step-by-step Developer Tutorials.
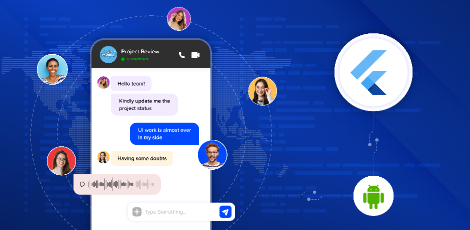
In this article, I will guide you through the step-by-step process of integrating the Flutter plugin to create your In-app chat
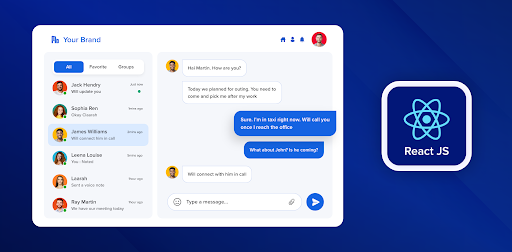
Learn How to Build a React Native Chat App for Android or iOS? This tutorial concentrates on the complete development of a react native chat application.
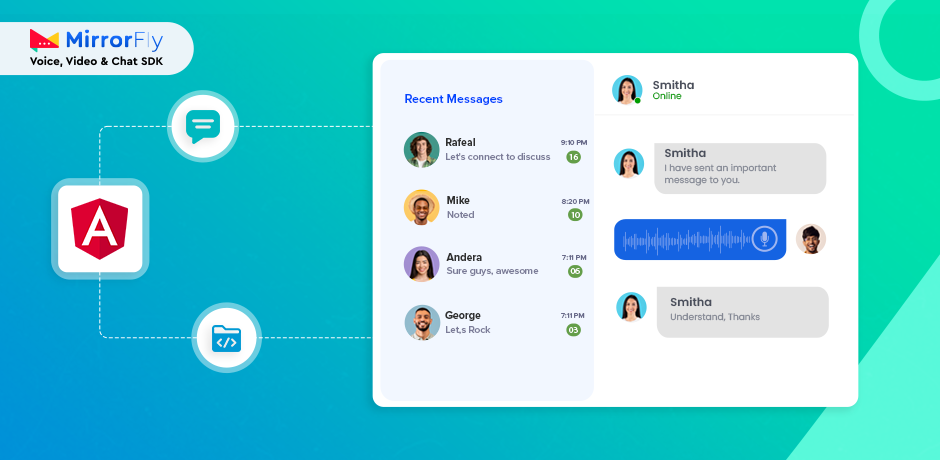
A step-by-step guide to building a chat app using Angular by integrating MirrorFly chat SDK.
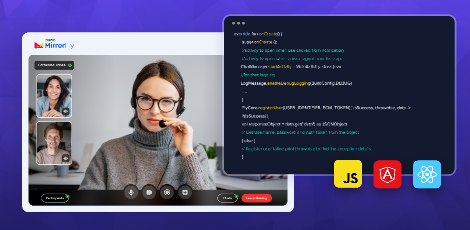
In this tutorial, we will show you how to build a web video chat app using MirrorFly SDK. You can also request a demo for testing the video app with our expert team.
Here is a Flutter tutorial that demonstrates how to build a messaging app with MirrorFly’s chat SDK.
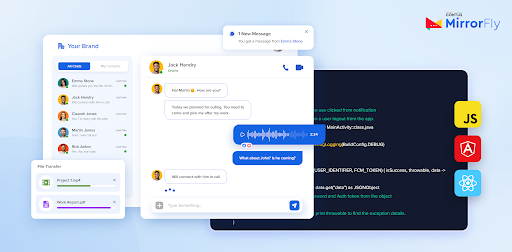
In this post, you will learn how to use MirrorFly Chat SDKs to build a web chat app in under 30 minutes. This tutorial is built for developers of all proficiency levels - from beginners to experts.
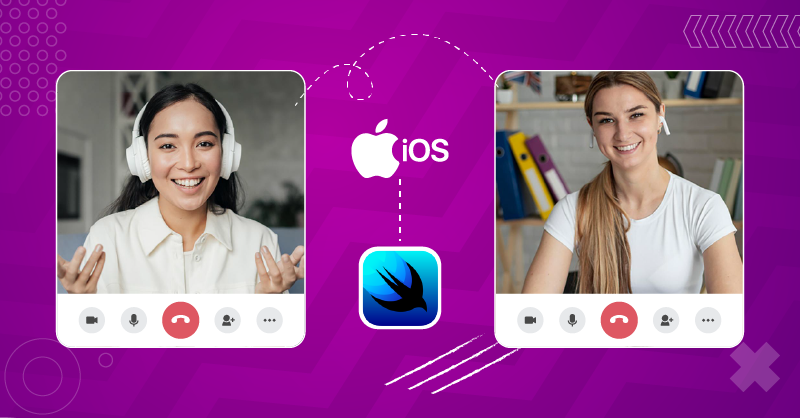
In this tutorial, you will learn the steps to build video calls into iOS apps using SwiftUI. We will use Xcode as the Development environment and MirrorFly Video Chat SDKs for implementing video calls.
This article will walk you through the steps to integrate group messaging features into your new or existing Android apps with the help of MirrorFly’s SDKs.
Building a chat app is quick and easy with MirrorFly. In this article, you'll learn how to create the best chat app in just 10 Mins.
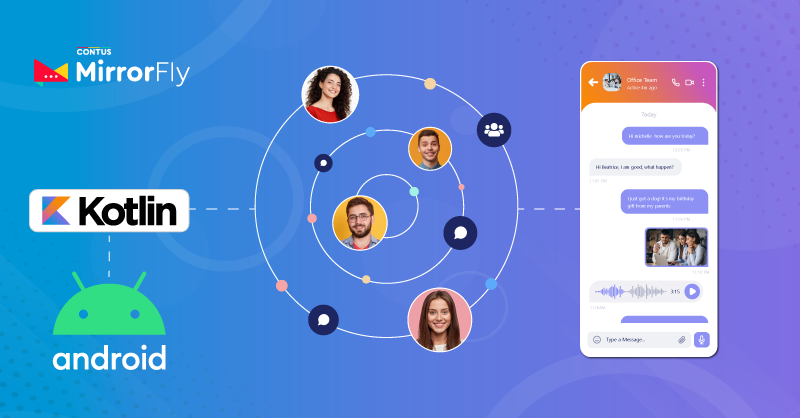
In this tutorial, How to build a highly secure and scalable android chat application using Kotlin technology & adding MirrorFly Chat SDK & configuring your mobile apps.
This tutorial will show you the detailed view on how to build a video chat app using JavaScript with step by step guidelines which helps you to implement it easily on any android app.
This article will walk you through the steps to integrate group video calling features into your new or existing Android apps with the help of MirrorFly’s SDKs.
Here you can find the detailed step by step procedure to build a highly secure and scalable android chat application using Java technology using MirrorFly API & SDKs.
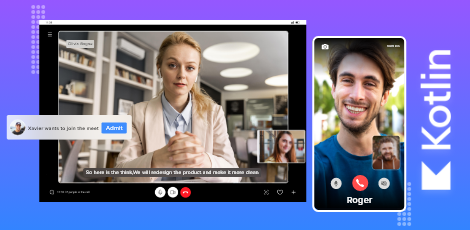
Learn How to build a kotlin video chat app for android or iOS? This tutorial guides you on the complete development of a kotlin video call application.
In this tutorial, you will learn how to build an iOS video chat app in swift with MirrorFly SDKs. Try our 21-day free trial & explore our platform.
Integrate Our Video, Voice & Chat SDKs into any app in < 30 mins
Get Full Access To Our Customizable Video, Voice & Chat SDKs!